04/20/2016

IMG_20160420_231903294
Added more slats, about 2/3 done here
IMG_20160421_243744904
First layer of plastic has been installed.

IMG_20160421_244034820

IMG_20160421_244057020
Full moon tonight 🙂

IMG_20160421_244136806

IMG_20160421_244142284
There is plenty of room for me to lay down horizontally and a little more head room than I expected.  I know some of it will go away after all the insulation is installed and we put in a foam mattress, but it looks like it will still be roomy enough for guests and to be used as storage.

IMG_20160421_244808818

IMG_20160421_244816229
Second layer of plastic was installed.   This plastic is mainly for wind protection while driving until the sheet metal can be installed.  It also keeps our the rain.
IMG_20160421_014939492
The mezzanine is covered!
IMG_20160421_014932615
I was able to drive 45mph down the freeway without any problems last night moving the bus from the makerspace back into RV storage.

04-19-2016

IMG_20160419_193410821_HDR
I got the front-most supports cut and installed.

IMG_20160419_193423331_HDR

IMG_20160420_240153231

IMG_20160420_241829634

IMG_20160420_241920527
Enter a caption

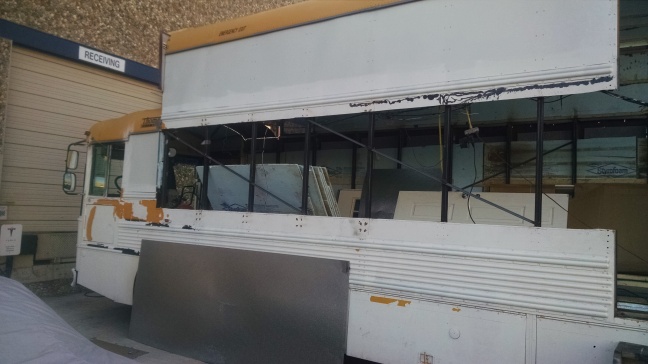
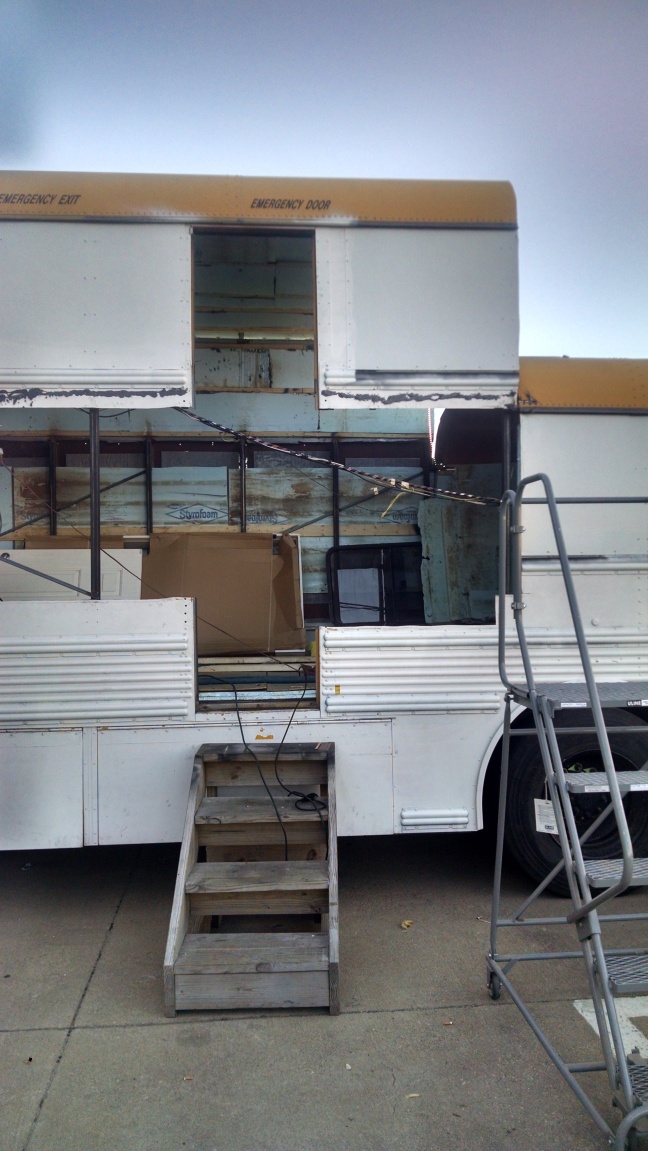
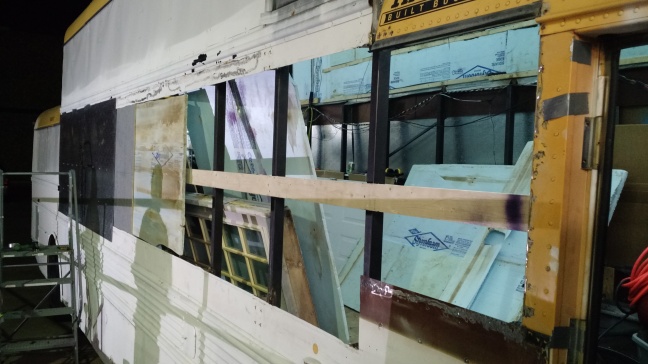
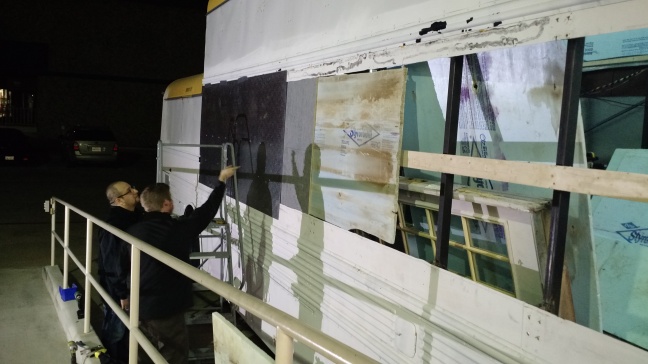
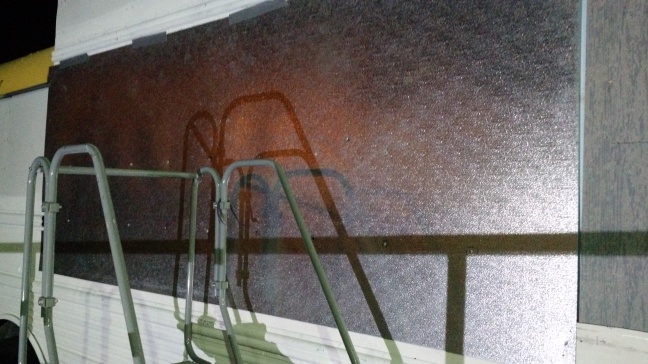
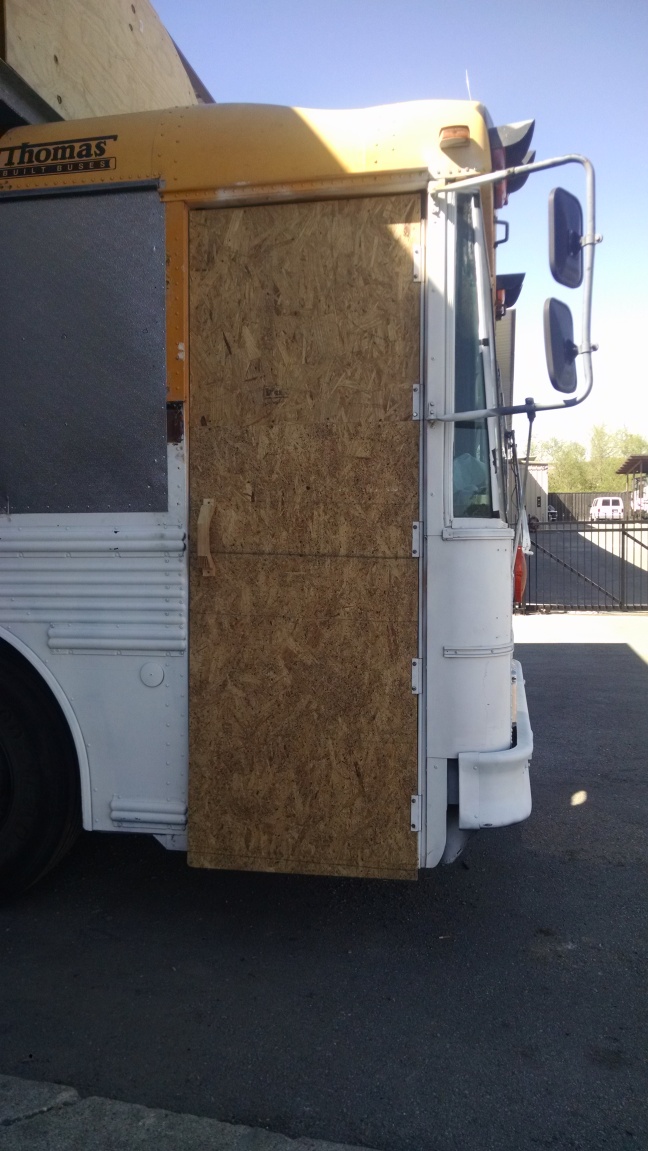
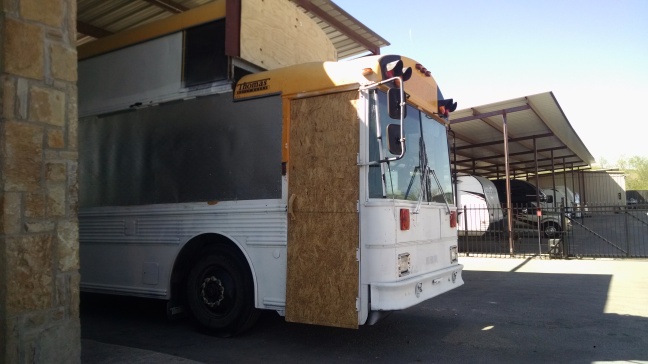
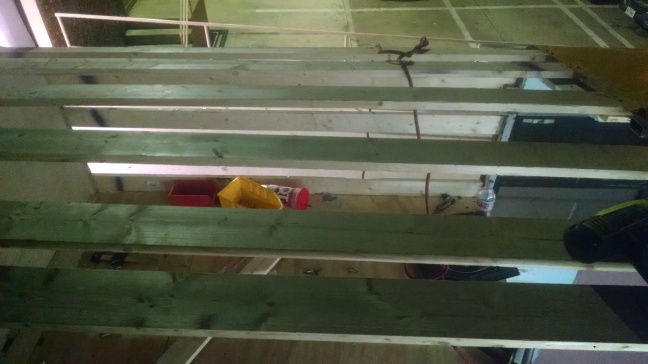
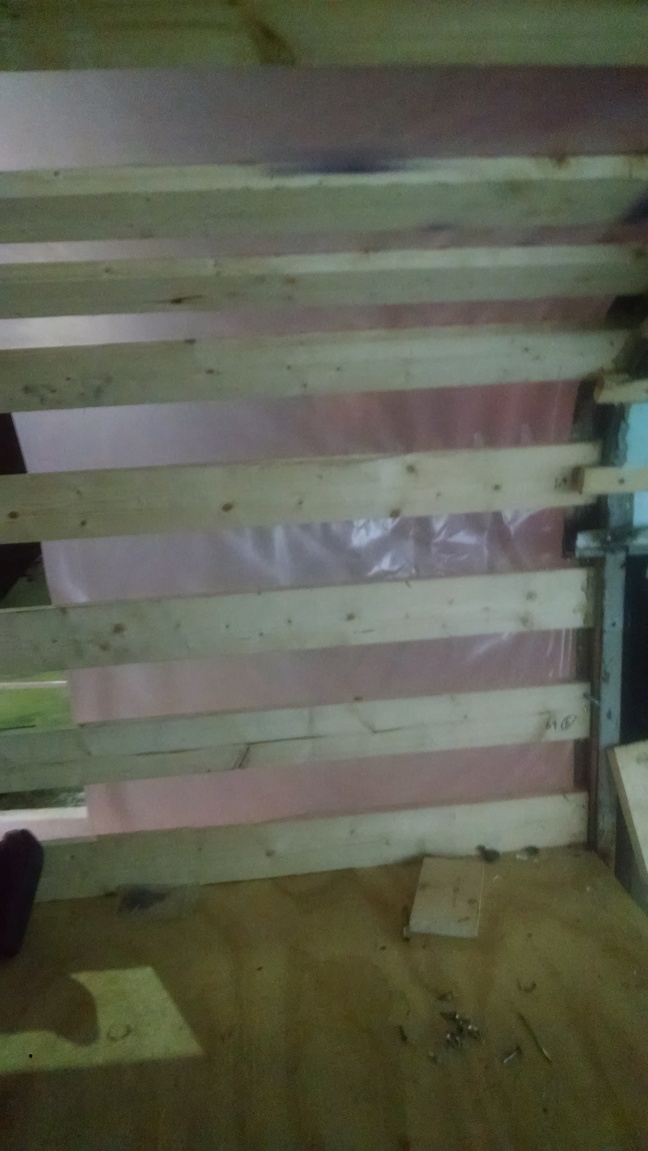
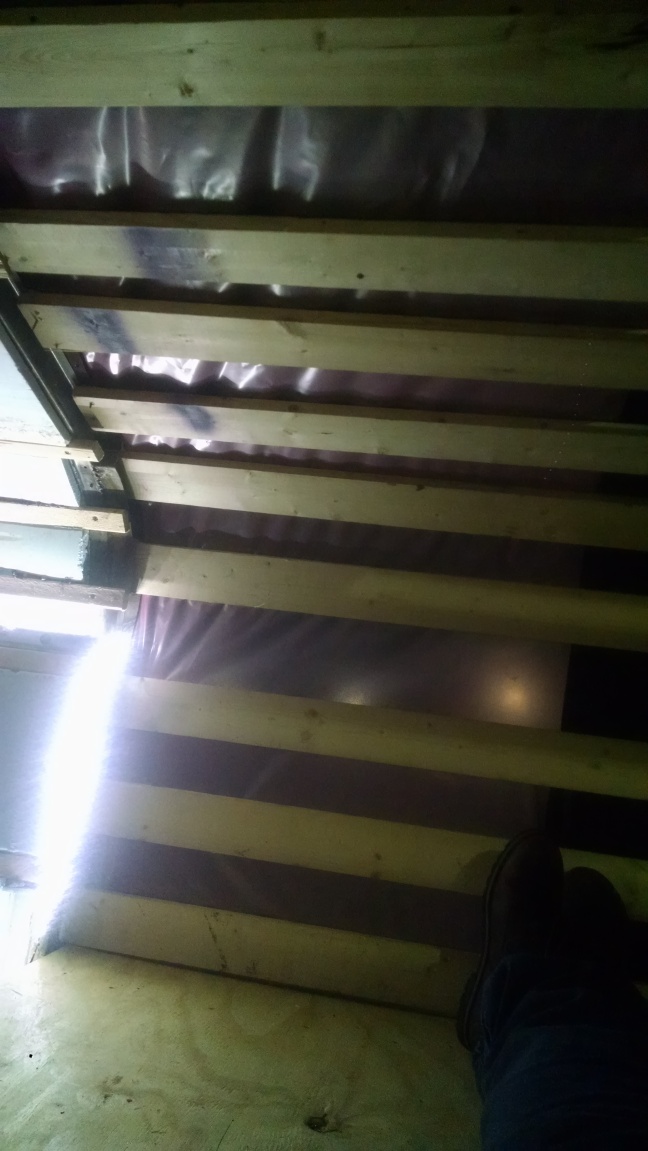
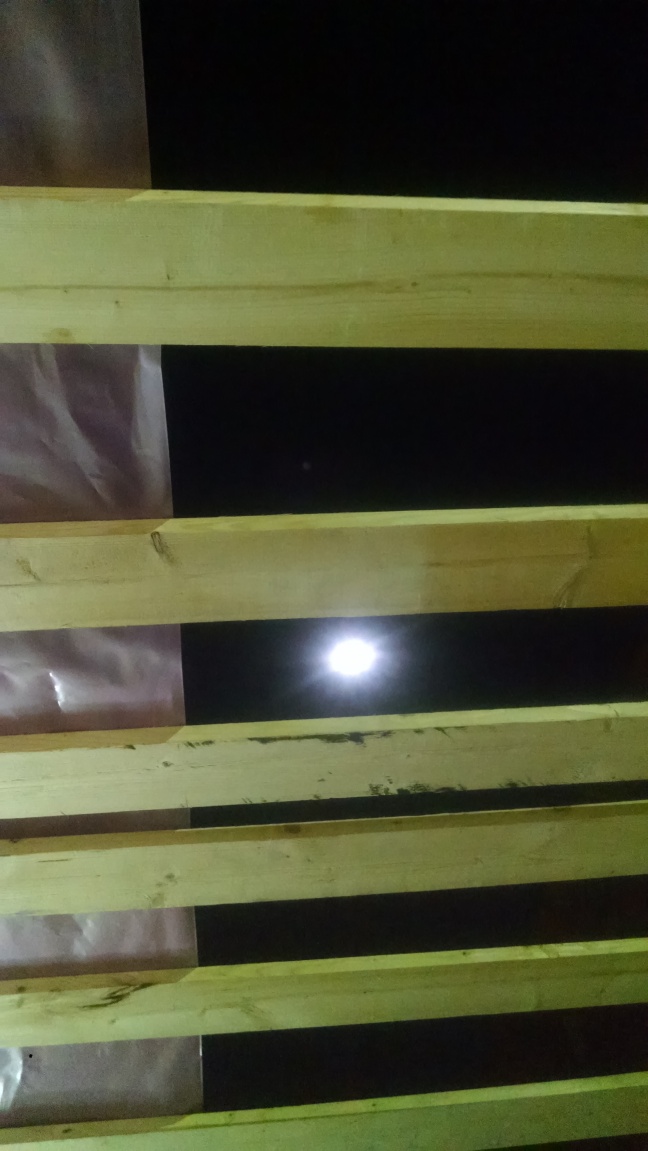
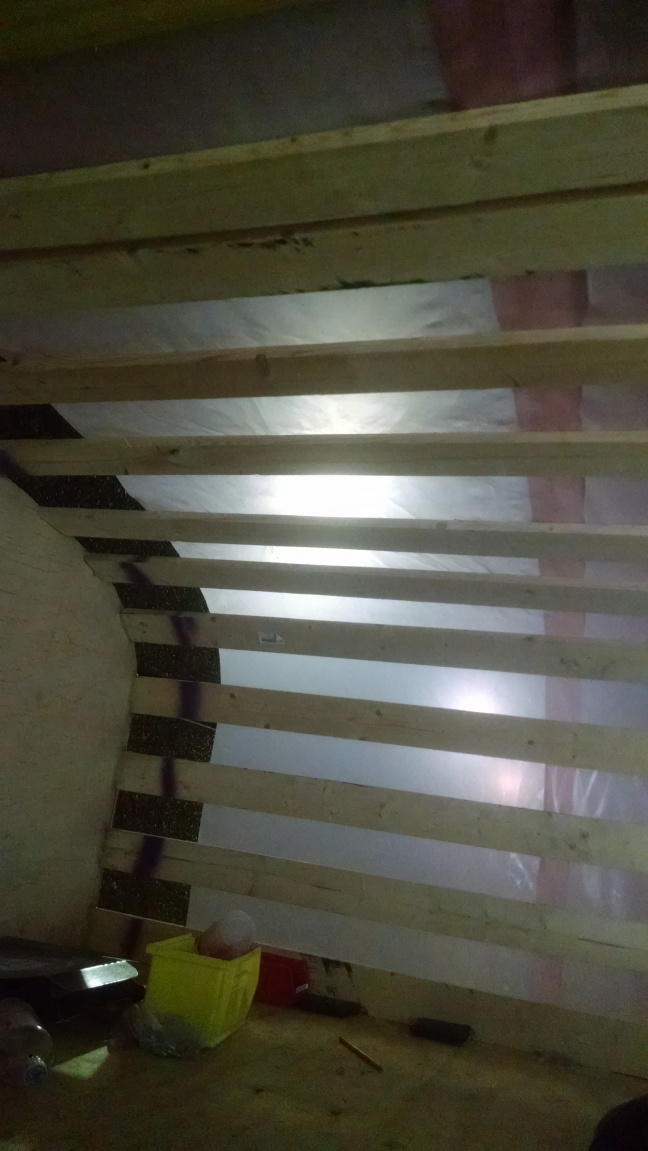
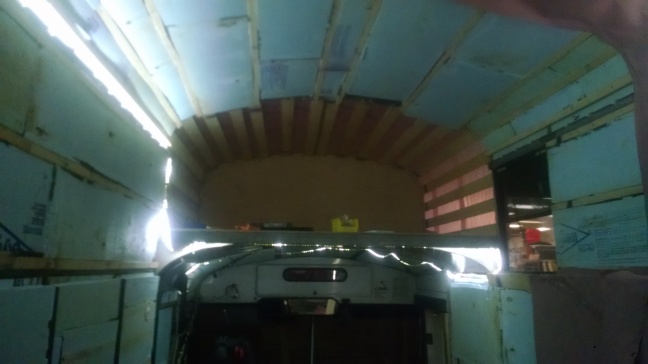
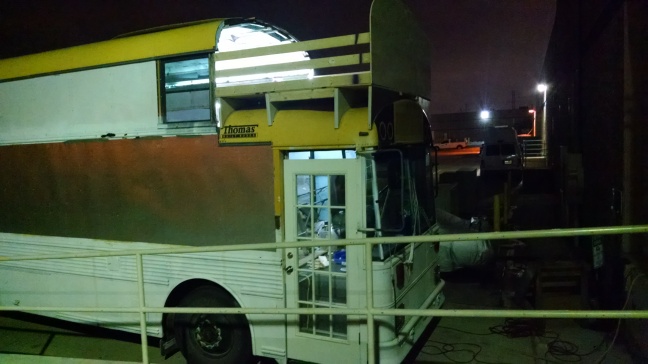
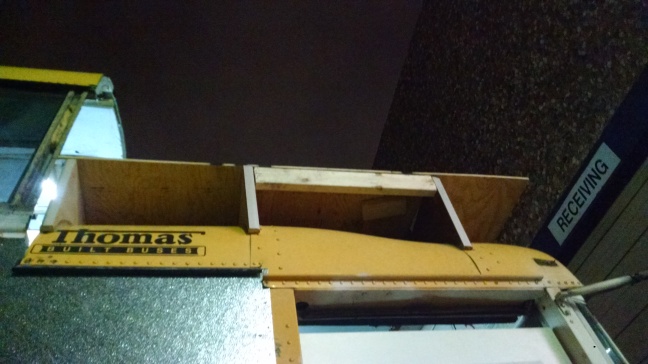
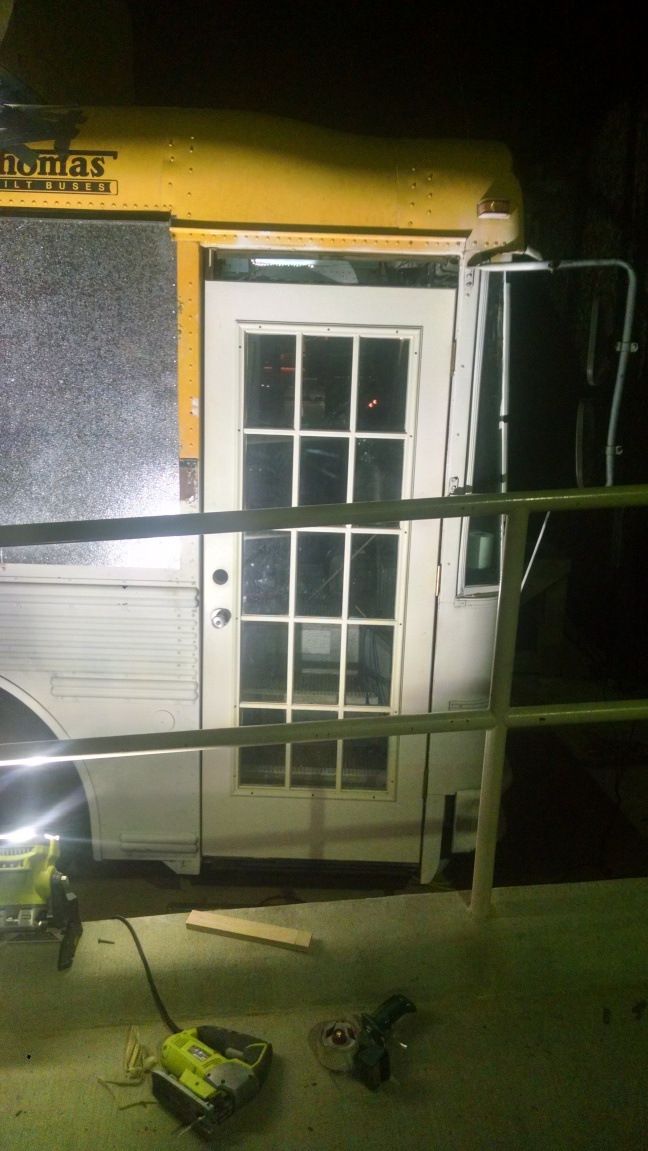
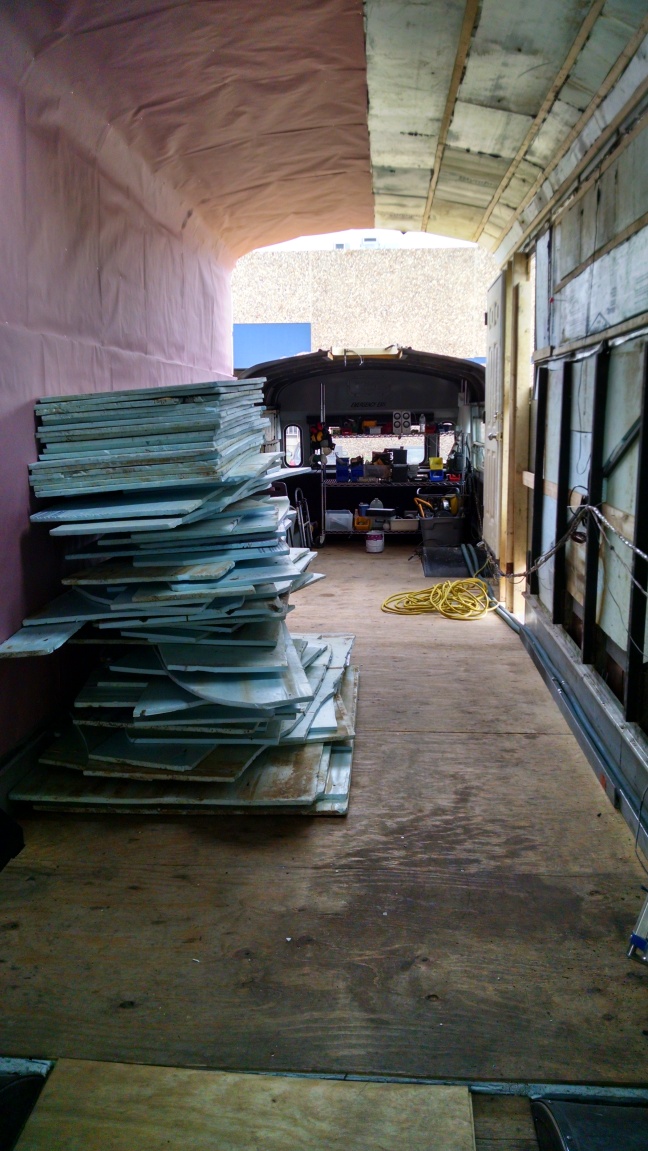
It was supposed to rain that evening, so I started working on a temporary covering to cover the two gaping holes on either end of the bus.

The rain ended up being much more severe than expected.  Also, instead of gradually increasing, it hit hard right from the start.  I ended up getting drenched and I ended up needing to 4 layers of plastic plus a 12x24ft tarp.  I didn’t get home until 3:30am. It was not a fun night.

04/02/2016

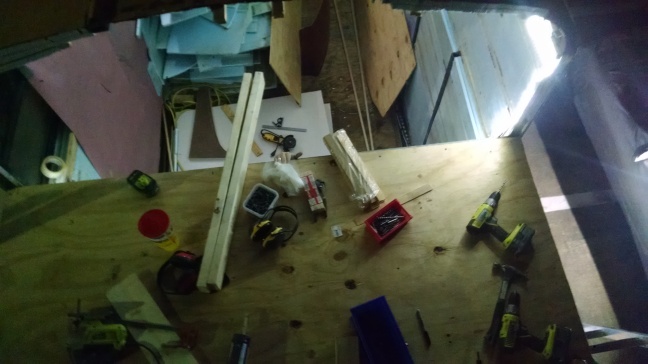
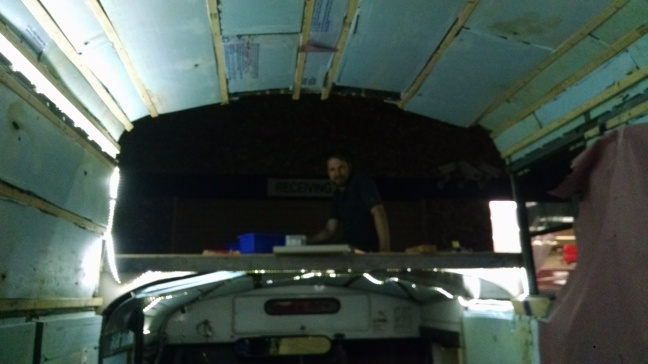
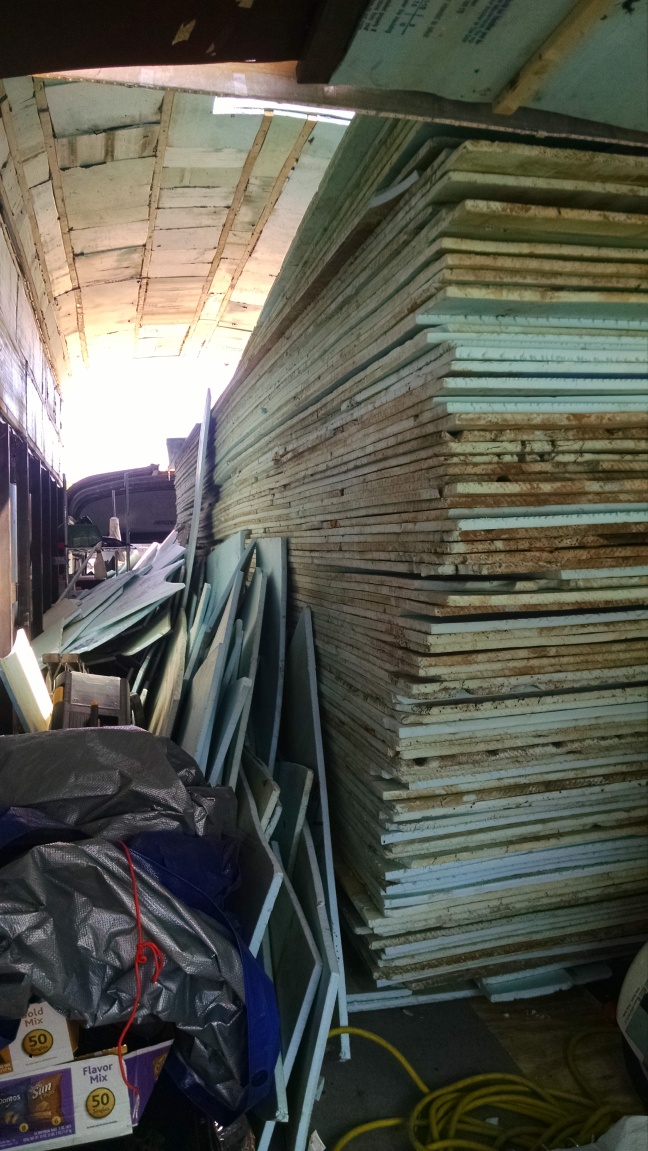
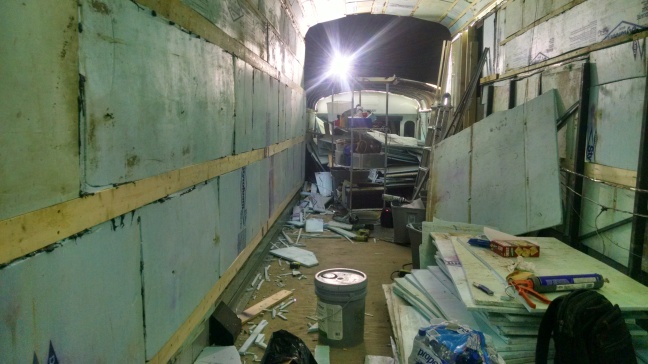
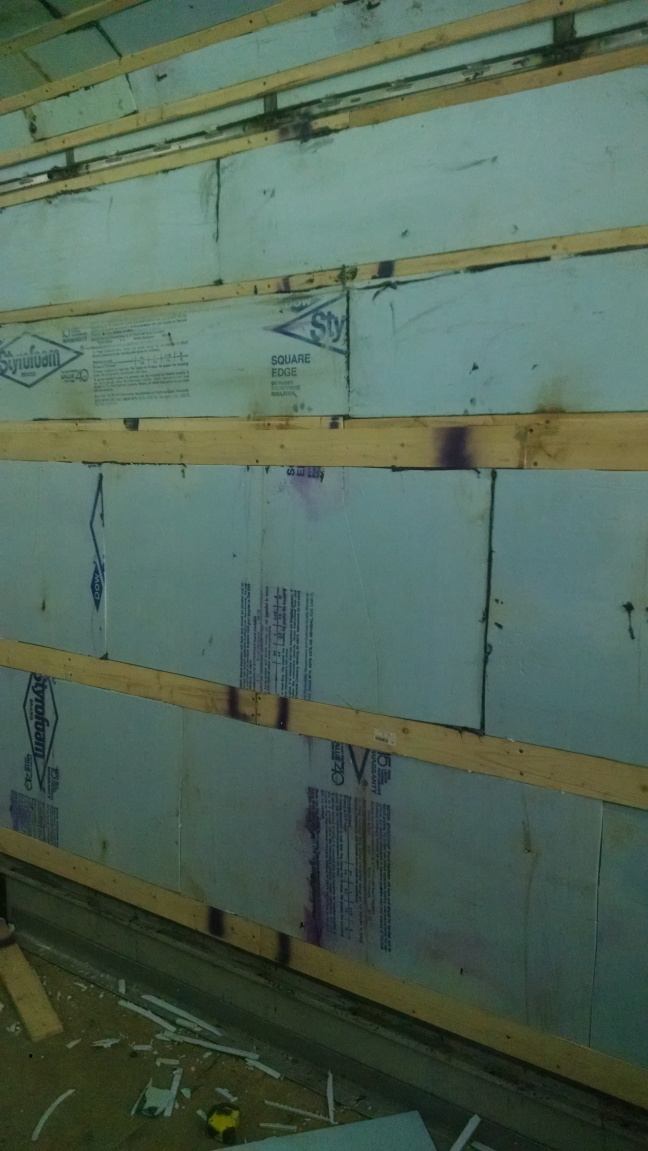
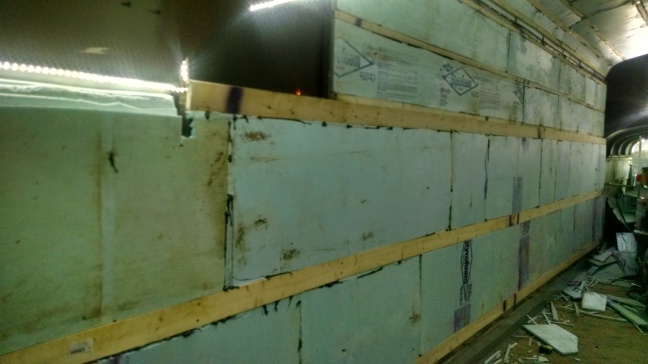
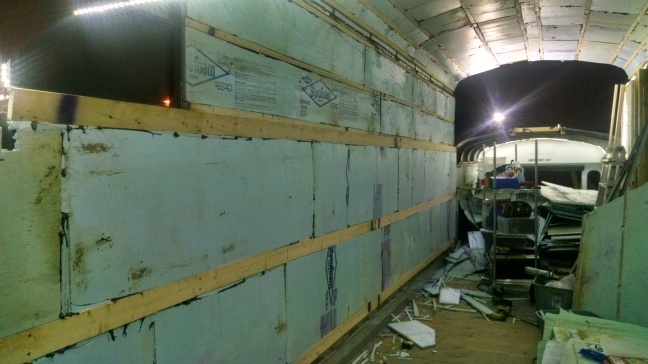
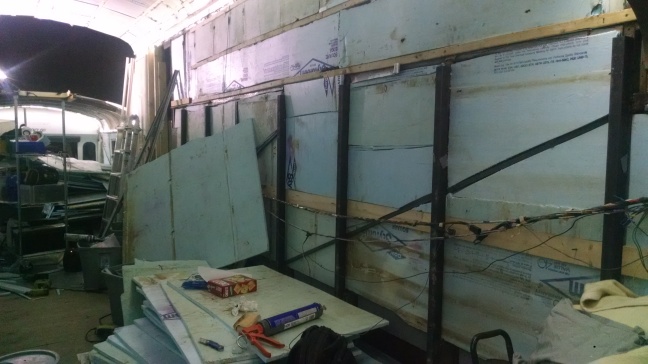
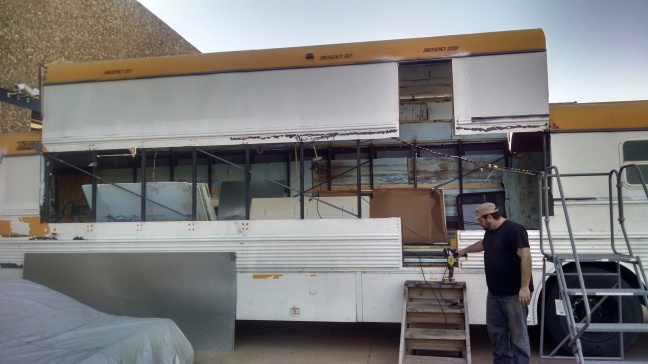
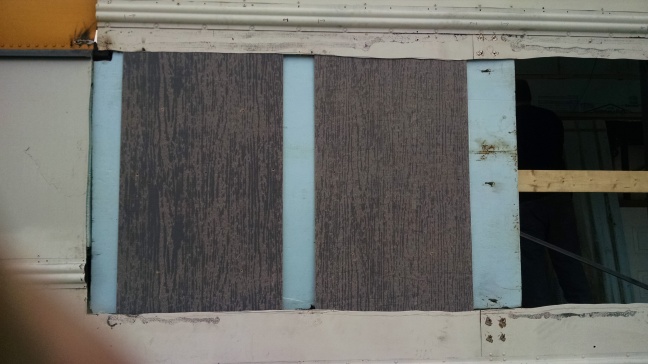
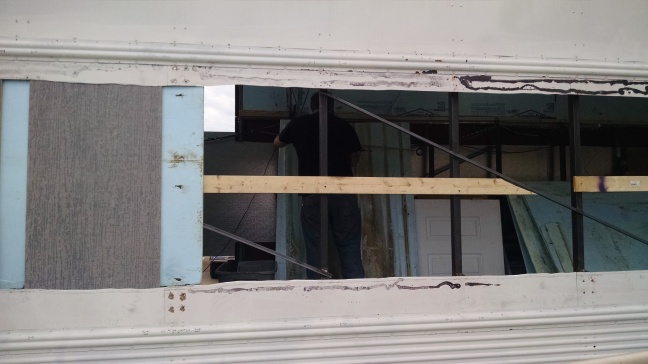
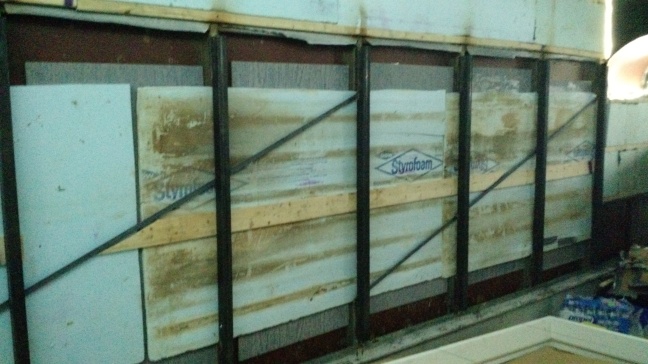
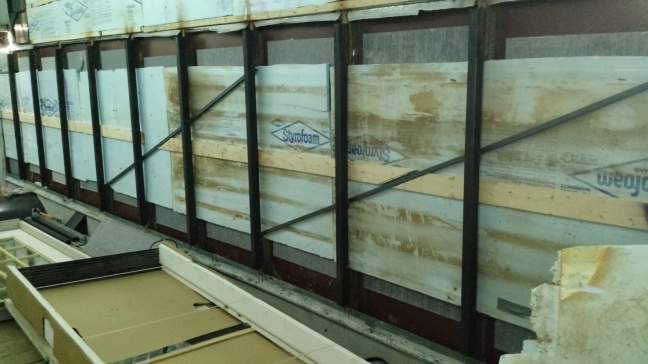
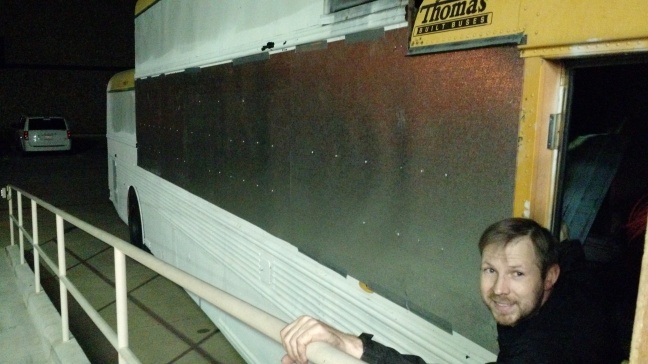
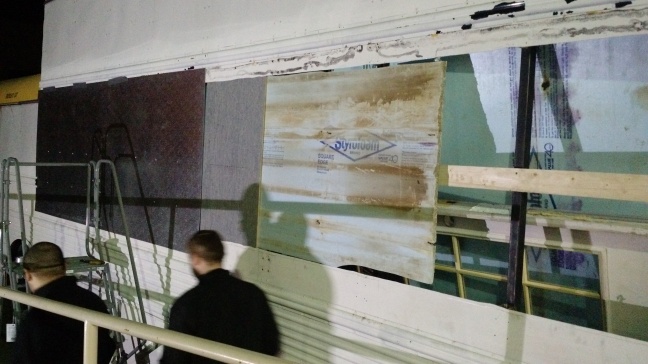
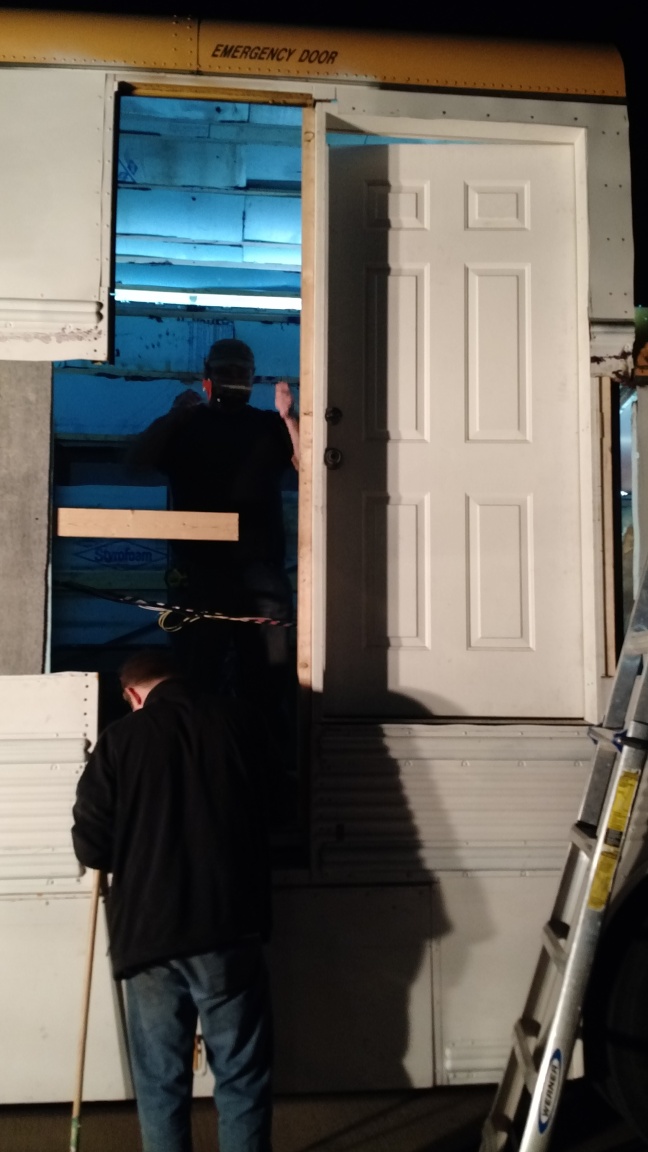
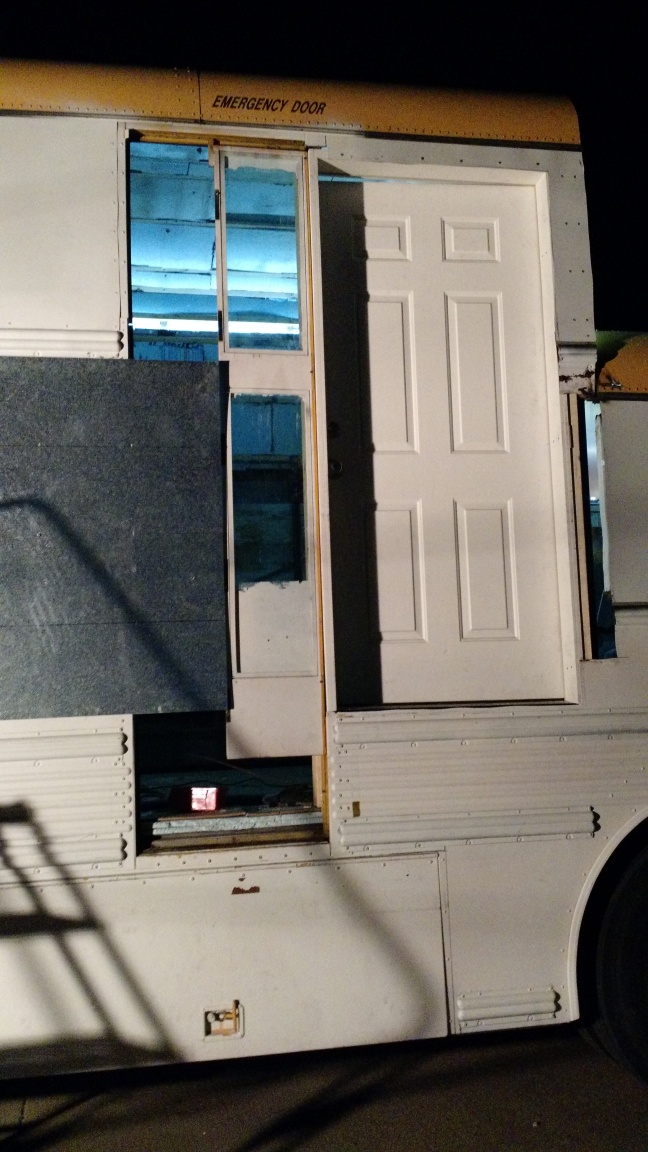
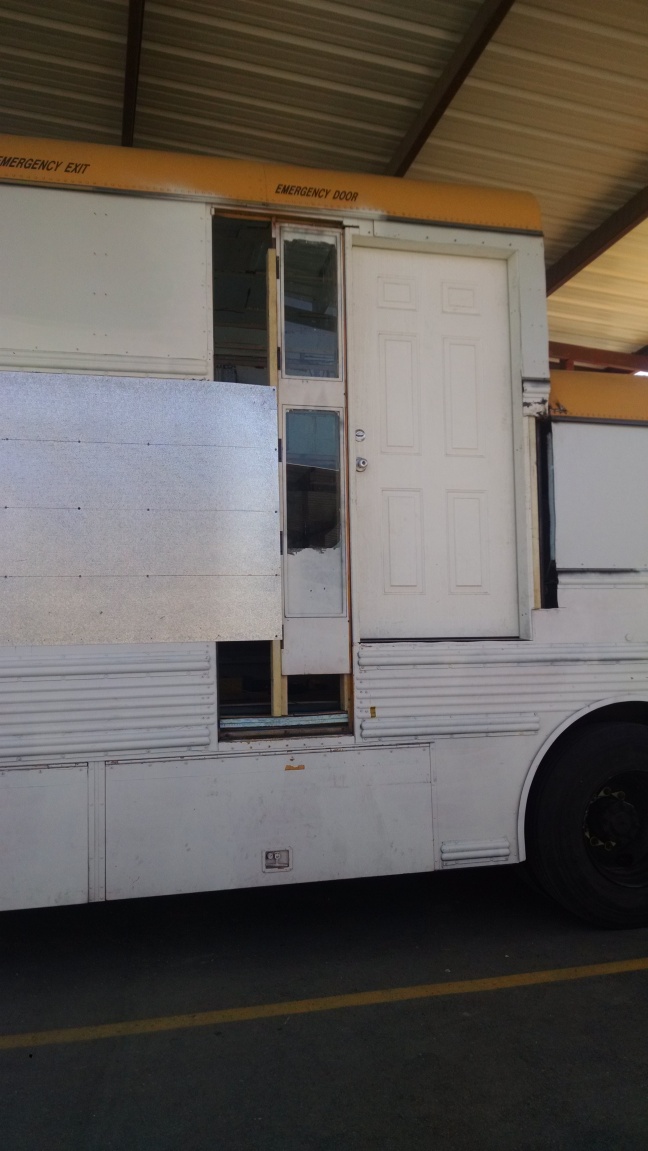
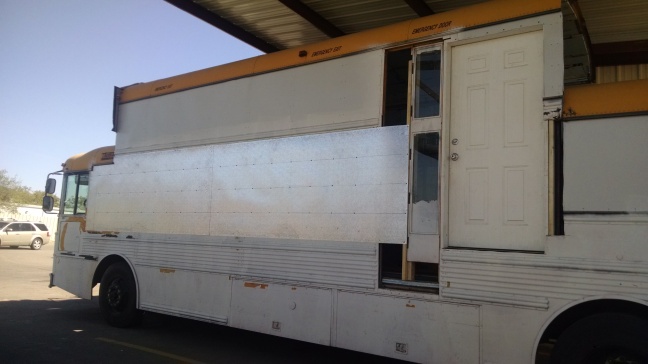
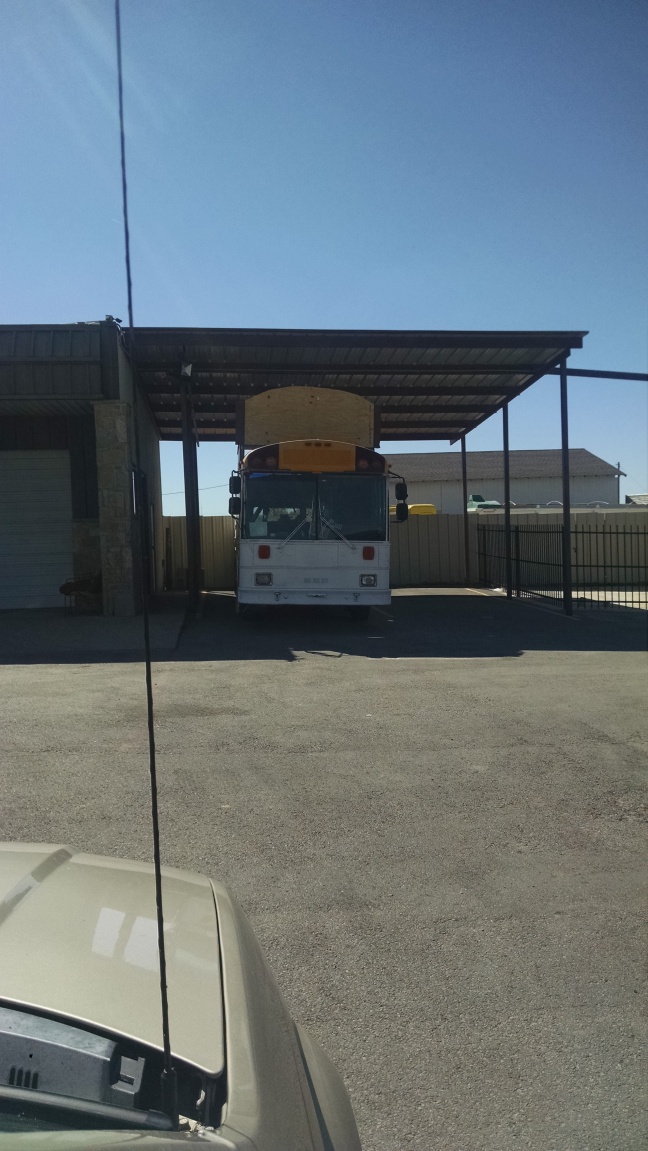
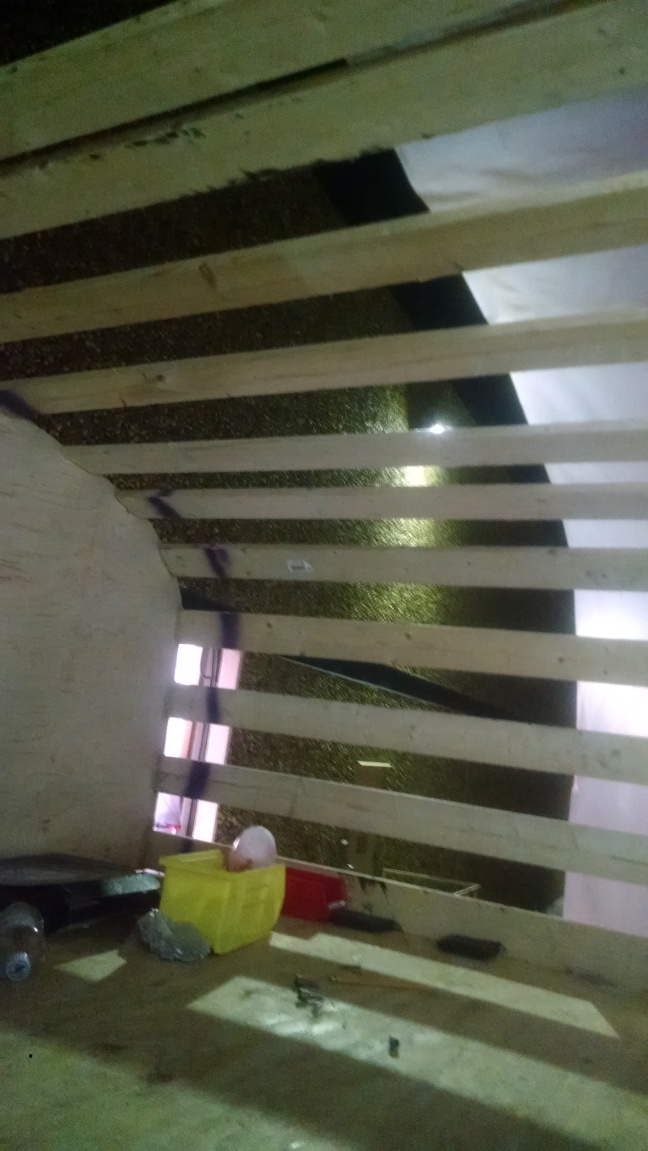
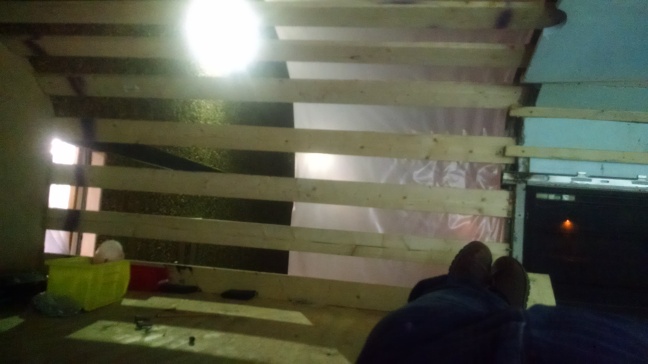
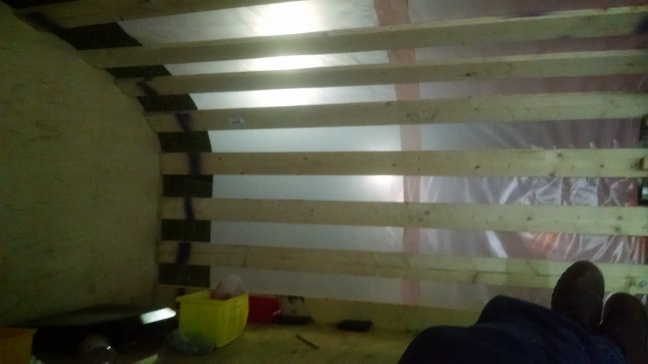
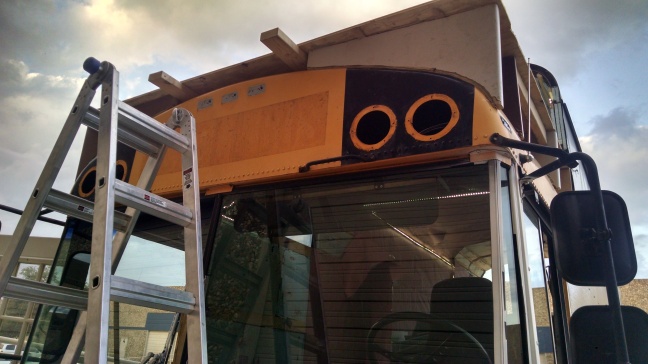
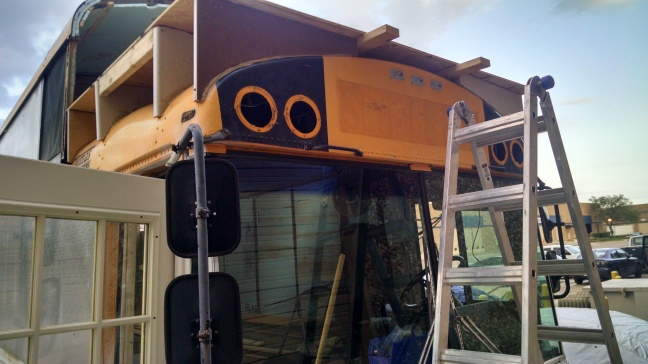
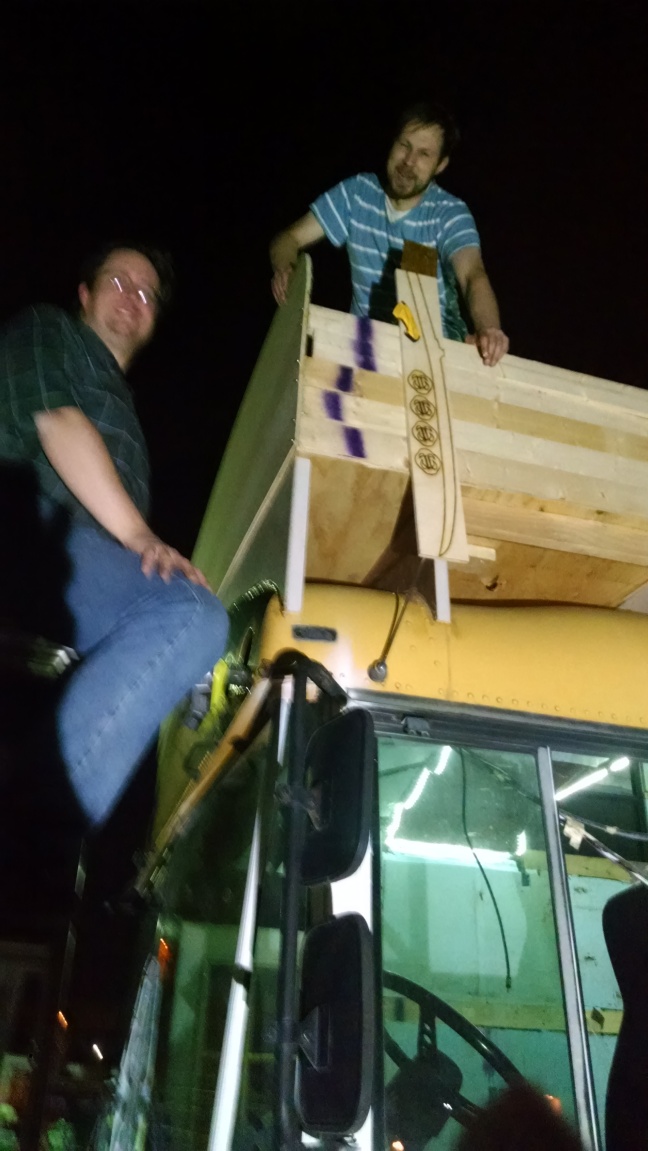
Last week we riveted sheet metal to the bus frame but it was not secure enough.  This week we took down the sheet metal and reattached it in a much better way.

IMG_20160402_190505351

IMG_20160401_181856288
We installed a furring strip down the length of the bus.

IMG_20160402_190517316_HDR

IMG_20160401_181841732
1/4″ 4ft x 2ft MDF boards were screwed to the furring strip with insulation in between as a spacer.

IMG_20160401_181845947

IMG_20160402_190511465_HDR
This is where the emergency exit used to be.
IMG_20160402_204908660_HDR
Prepping the door for installation.
IMG_20160402_014059934
Here you can see the 53.5″ rib supports, the 3/4″ angle iron trusses, the exterior furring strips, insulation, and MDF boards.

IMG_20160402_014123354

IMG_20160402_020219432
The sheet metal is screwed into the MDF first.  The sheets will then be riveted to each other and to the frame of the bus.  Last time we riveted, the rivets had to bear weight right away.  This time we can rivet much slower and more methodically.
IMG_20160402_232611235
Cutting away old rib support so the door can fit flush against the exterior metal skin.


IMG_20160402_241327611IMG_20160402_241333926IMG_20160402_241357485IMG_20160402_241410125

IMG_20160403_244147310IMG_20160403_015758757

IMG_20160403_154135316
The old bus door is now framed in as a window.
IMG_20160403_154135316
We still have a few holes to fill in, but the side skin in coming together.

IMG_20160403_154153714

IMG_20160403_154210936
We will build exterior stairs to reach this door.
IMG_20160403_154458445
This temporary door will be replaced soon, but we are glad to have it in the mean time.

IMG_20160403_154509359


IMG_20160403_154720741